Final Fantasy Resonance Underground Tunnel map and chest locations
The Underground Tunnel has five recorded chests and two Tablet Shards across five floors. Lucky Bell and Mist Turbo Ether are in separate chests on Area 2 · 1F. Both Tablet Shards are in Area 1.
Rewards by floor
| Floor | Chests | Tablet Shards |
|---|---|---|
| Area 1 · B2 | Magicite Shard | 0 |
| Area 1 · B1 | No recorded chests | 1 |
| Area 1 · 1F | Mist Hi-Potion ×2 | 1 |
| Area 2 · B1 | Ether ×2 | 0 |
| Area 2 · 1F | Mist Turbo Ether · Lucky Bell | 0 |
Underground Tunnel
Area 1 · B2
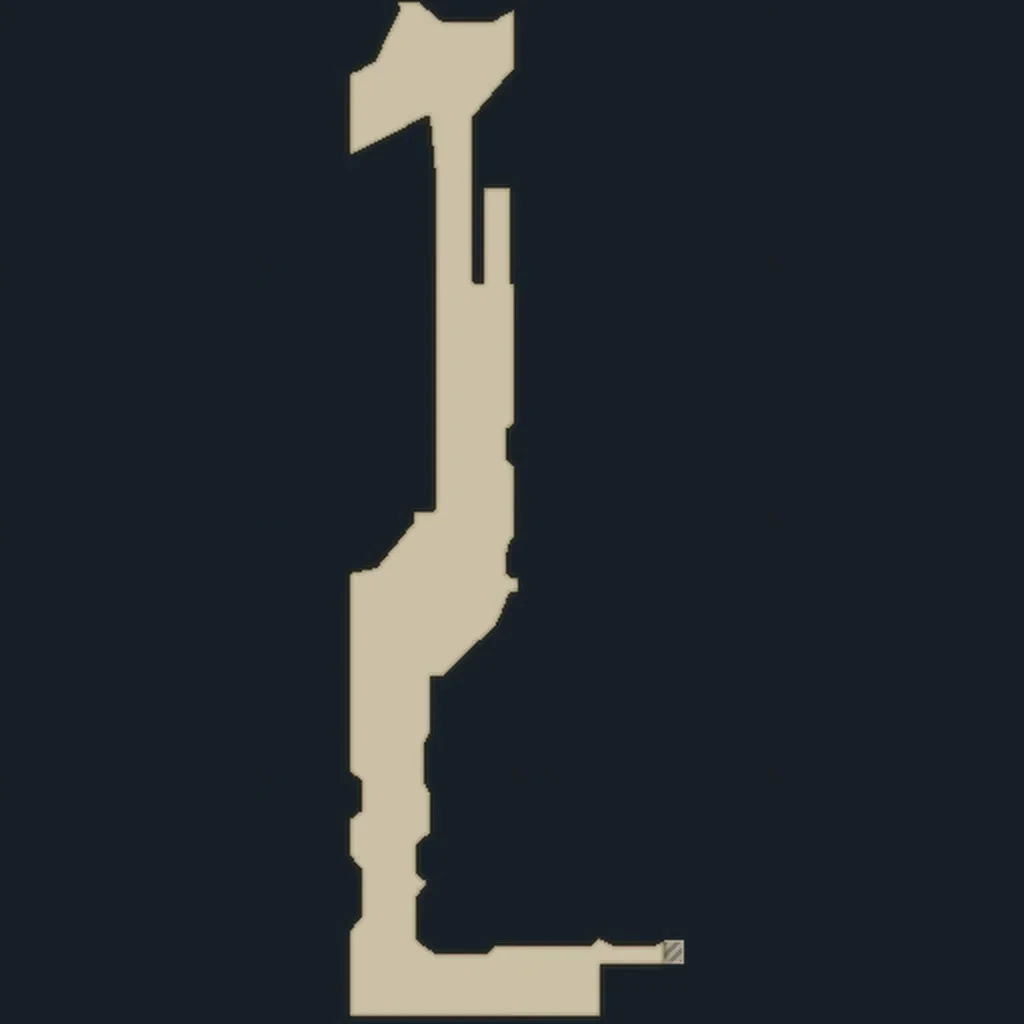
This basement has the Magicite Shard chest, a save point and an exit to the Rebel Hideout.
- 1
Underground Tunnel
Area 1 · B1
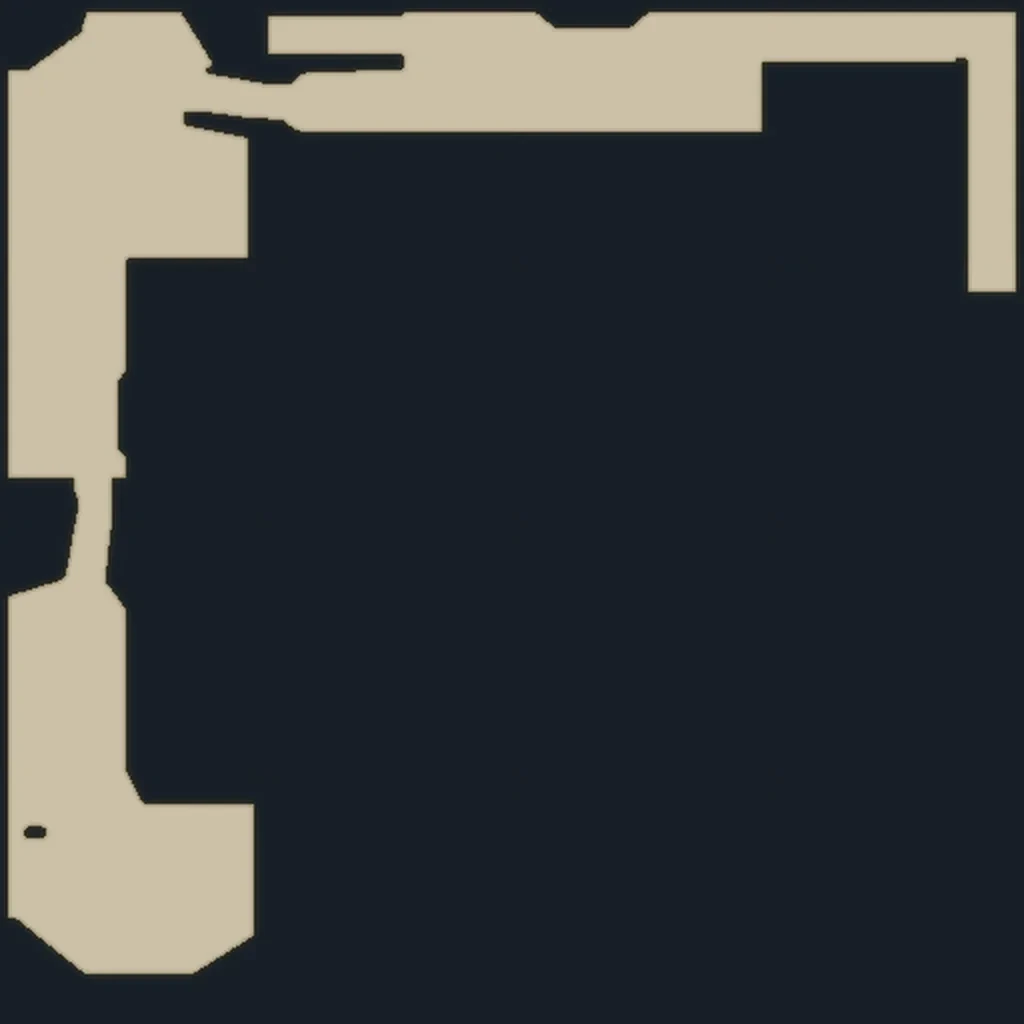
The marker here is a Tablet Shard. You can collect it even though the chest count for this floor is zero.
- 1
Underground Tunnel
Area 1 · 1F
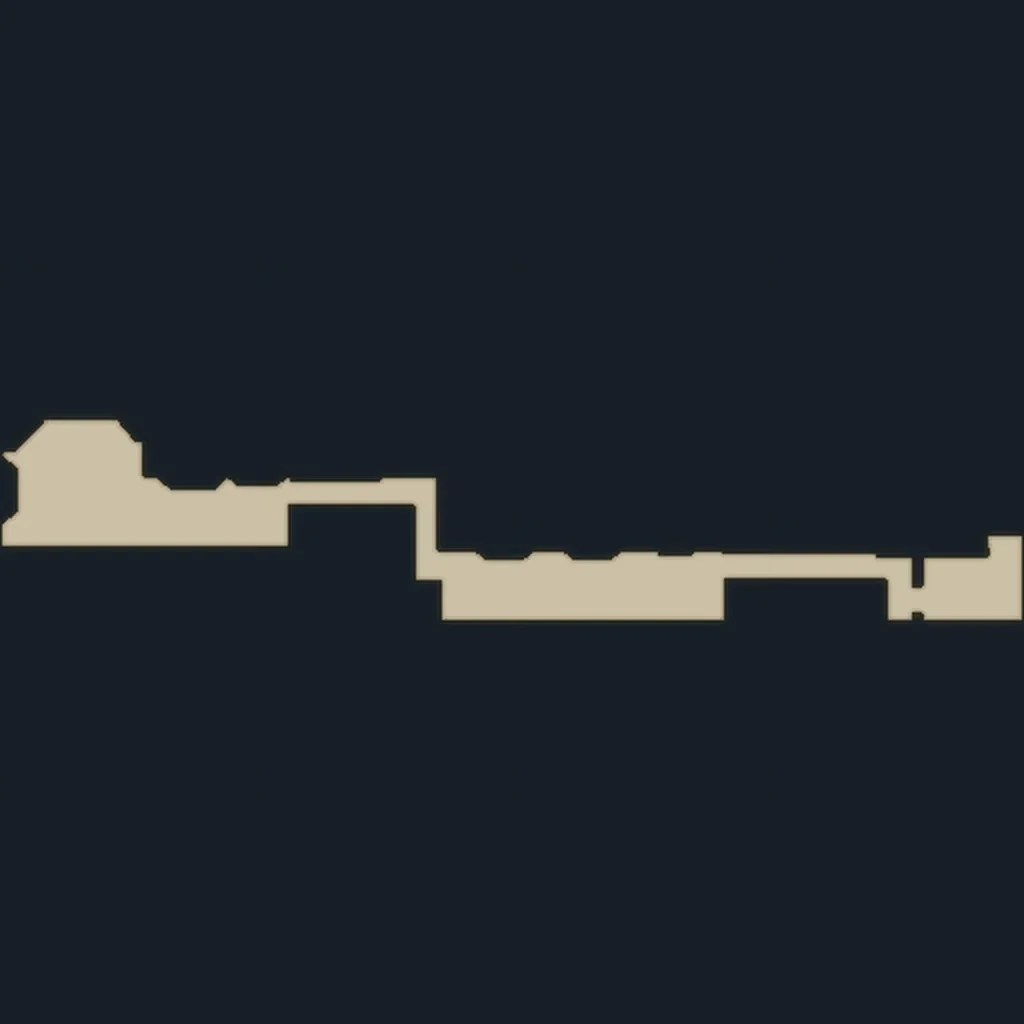
One chest holds two Mist Hi-Potions. Check the separate Tablet Shard marker before leaving.
- 1
- 2
Underground Tunnel
Area 2 · B1
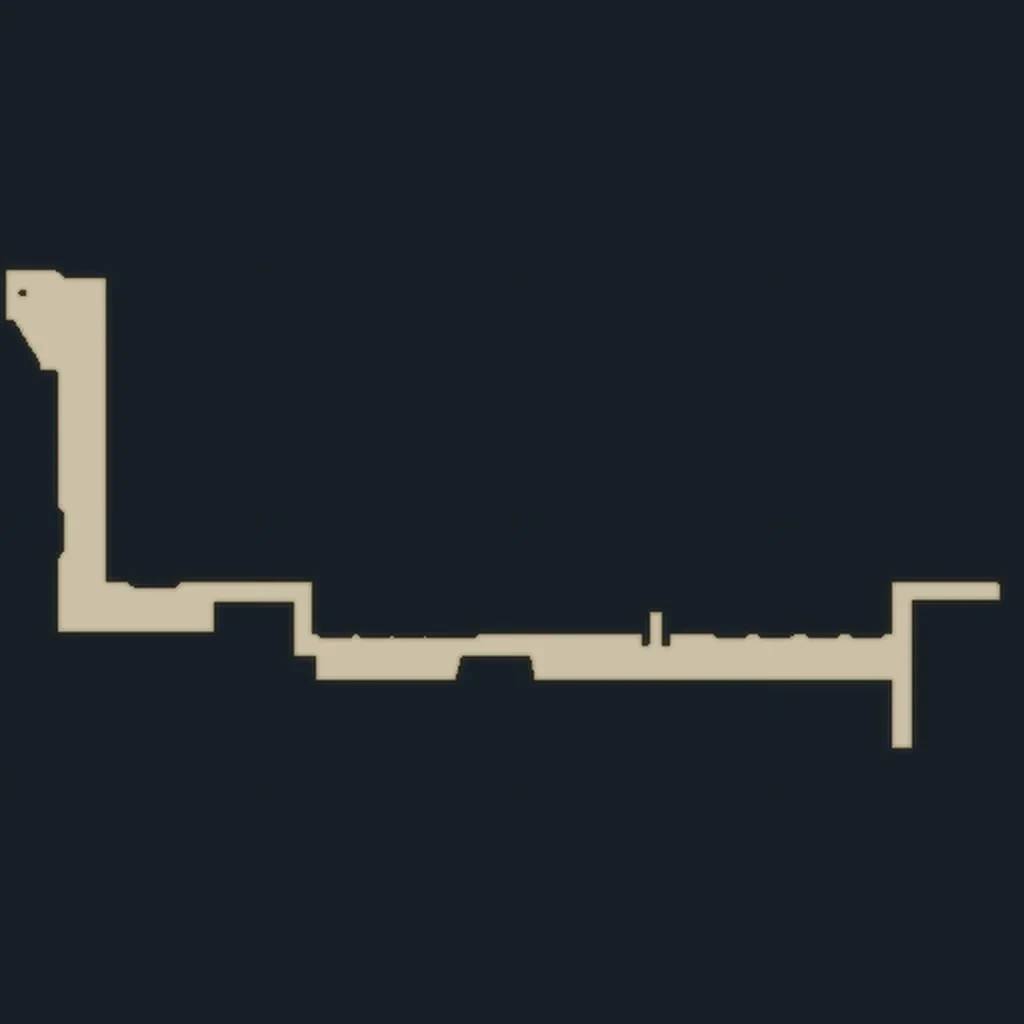
The two Ethers share one chest. There is also a save point on this floor.
- 1
Underground Tunnel
Area 2 · 1F
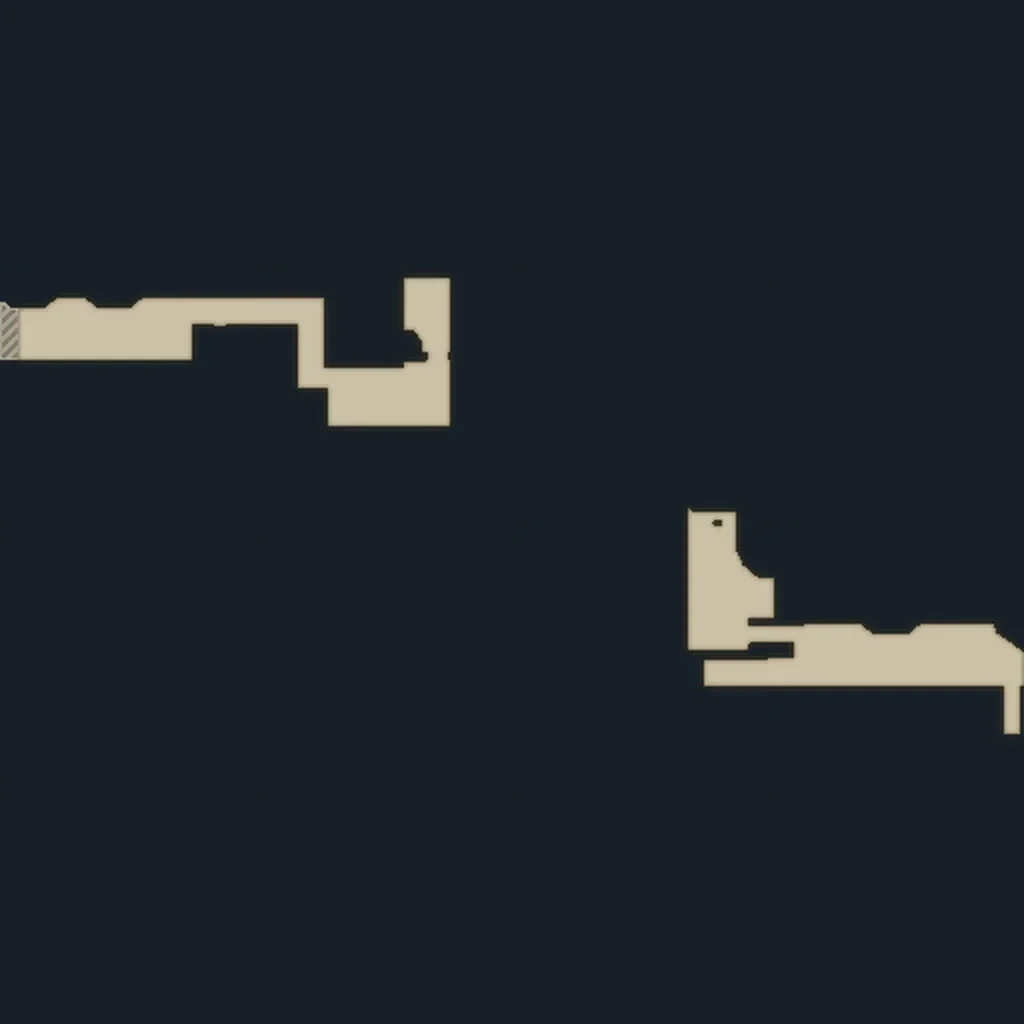
Check both chests for the ether and the bell. The same floor has exits toward the imperial capital and the Dungeon.
- 1
- 2
Equipment and rewards
For Lucky Bell, go directly to the first floor of Area 2 and use the pin next to its name. If you are looking for the two Mist Hi-Potions, stay in Area 1 on the first floor instead.
Checking what is missing
A Magicite Shard and a Tablet Shard sound similar but use different checklist entries. Count the first as a chest on Area 1 · B2, then check the two ground pickups on B1 and 1F of the same area.
Maps & chests
Choose an area, check its floors and chest count, or jump to a marked reward in the interactive map.
Early equipment
Compare the early weapons Rain and Lasswell can actually equip and go straight to the chest or quest that rewards each one.