Final Fantasy Resonance: Siren’s Tower map and collectibles
Siren’s Tower has six recorded chests and three Tablet Shards across five maps. Monk’s Prayer Beads are on Area 1 · 2F. Sakura-Fubuki is on Area 2 · 1F. Check the area as well as the floor before retracing your steps.
Rewards by floor
| Floor | Chests | Tablet Shards |
|---|---|---|
| Area 1 · 1F | Ether | 1 |
| Area 1 · 2F | Monk’s Prayer Beads | 0 |
| Area 1 · 3F | Ether ×2 · Echo Herb ×2 | 1 |
| Area 2 · 1F | Sakura-Fubuki · Magicite Shard | 1 |
| Area 2 · 2F | No recorded chests | 0 |
Siren’s Tower
Area 1 · 1F
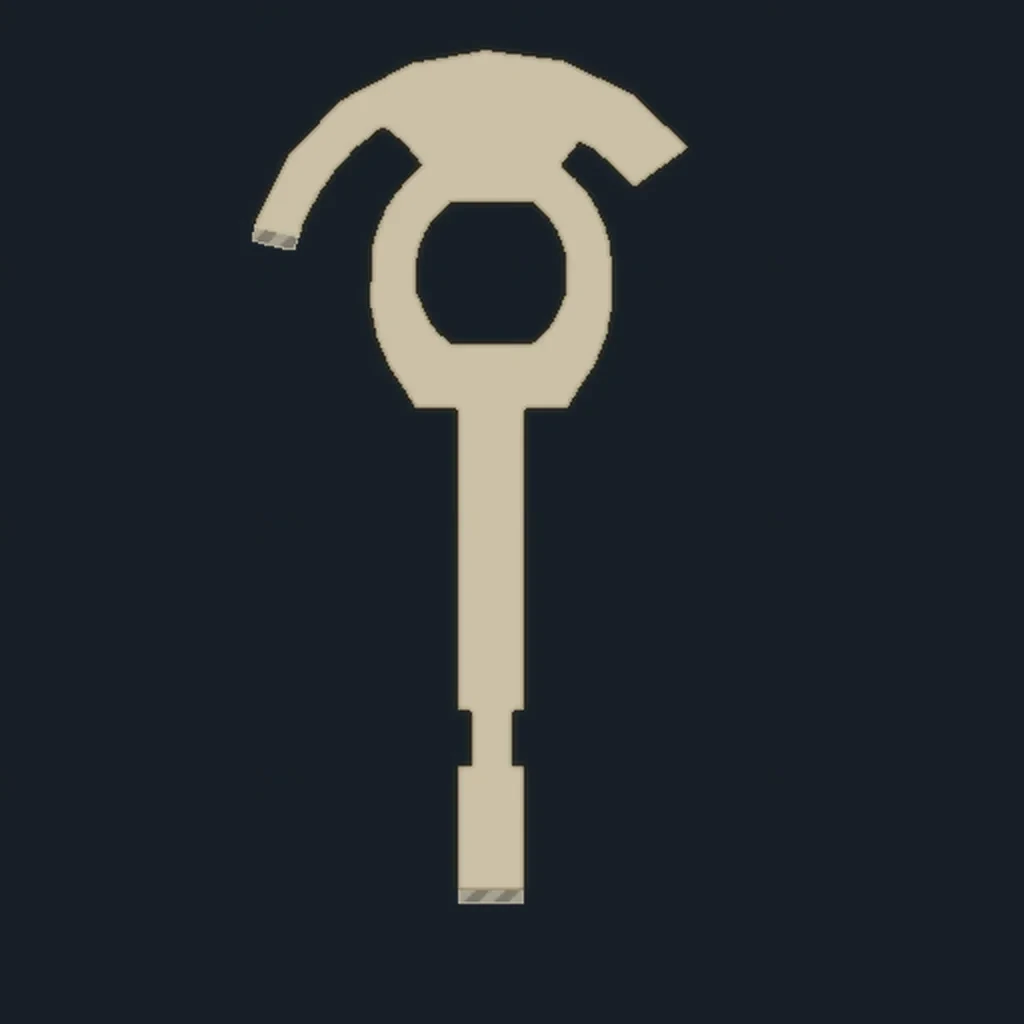
The Ether is in a chest. The Tablet Shard has its own marker on this floor.
- 1
- 2
Siren’s Tower
Area 1 · 2F
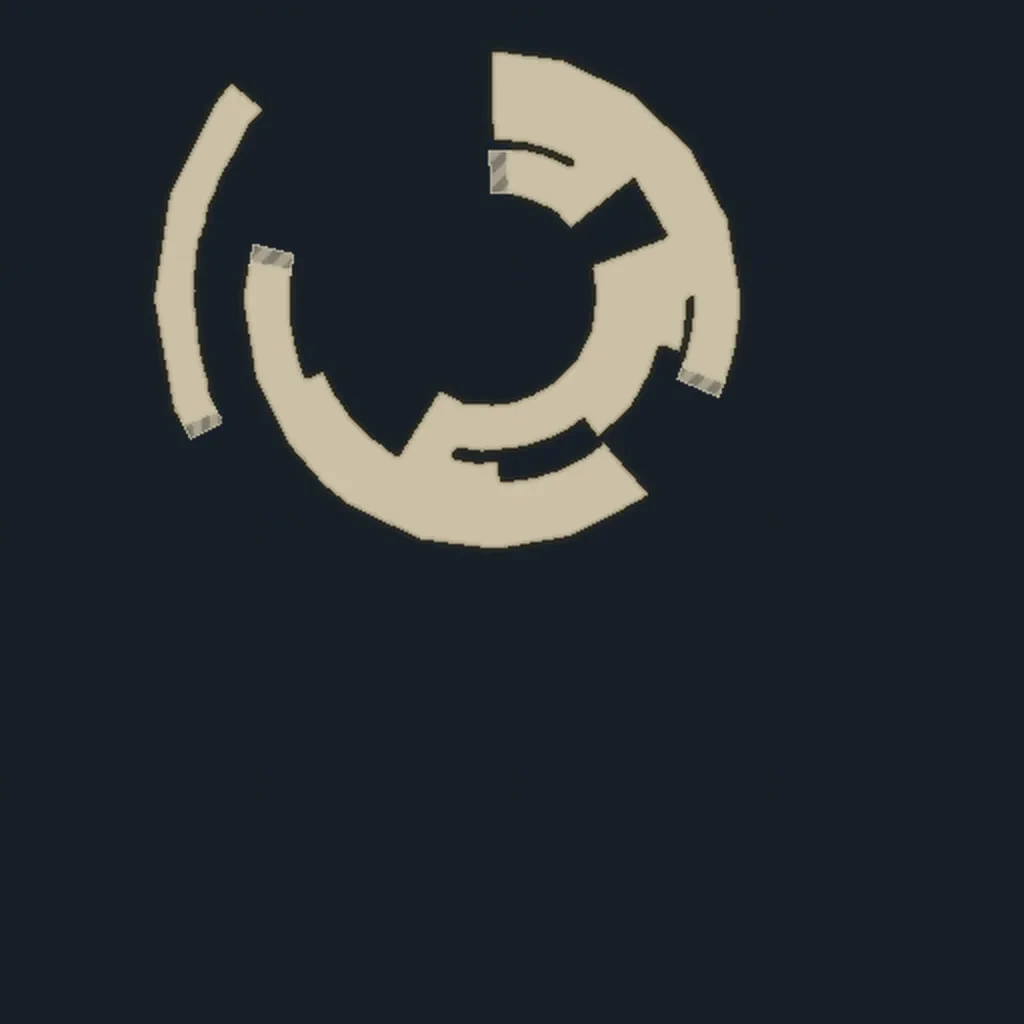
Look for the beads on the second floor of the first area. The second floor of the other area has no recorded chest.
- 1
Siren’s Tower
Area 1 · 3F

Two chests each contain a pair of items. A third marker here is a Tablet Shard.
- 1
- 2
- 3
Siren’s Tower
Area 2 · 1F
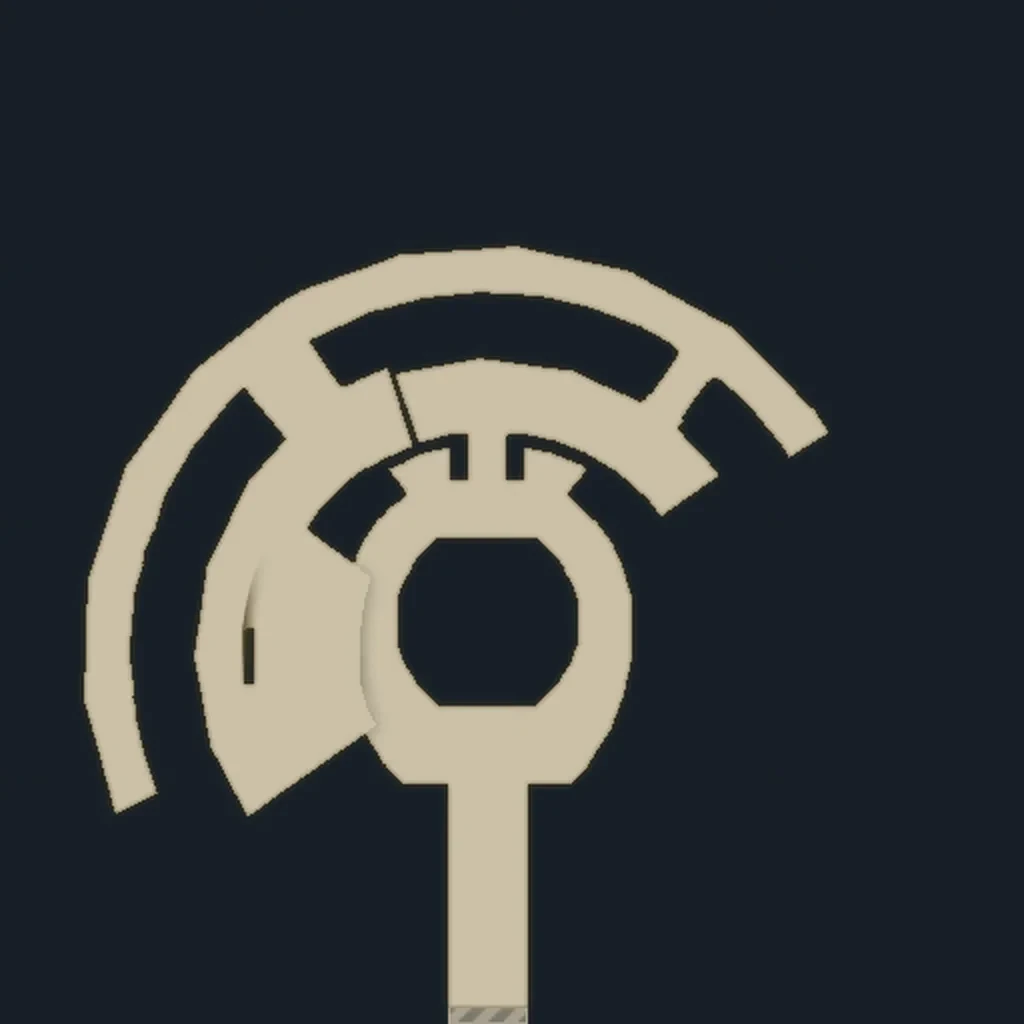
One chest holds Sakura-Fubuki, the other a Magicite Shard. The Tablet Shard is a separate pickup.
- 1
- 2
- 3
Siren’s Tower
Area 2 · 2F

There is a save point here, but no chest or Tablet Shard is recorded on this floor.
Equipment and rewards
Sakura-Fubuki gives Lasswell 43 physical attack and 22 magic attack. Compared with Nodachi, that is 22 extra physical attack and 2 extra magic attack on the weapon. The beads use an accessory slot and are a separate collection stop.
Checking what is missing
If you have all six chests but only two Tablet Shards, check Area 1 · 1F, Area 1 · 3F and Area 2 · 1F. The Magicite Shard inside a chest does not fill that gap.
Maps & chests
Choose an area, check its floors and chest count, or jump to a marked reward in the interactive map.
Early equipment
Compare the early weapons Rain and Lasswell can actually equip and go straight to the chest or quest that rewards each one.